
Treasure Map Format for a Treasure Hunt
The first, and perhaps
earliest, format is beginning with a treasure map, following the directions
(however simple) to lead one to the treasure. The interesting part about
this format is that it SEEMS like it would be the simplest to create.
It is if you are dealing with a deserted island such as in the movie Cutthroat
Island. Otherwise, it's not long after you begin thinking about it that
you realize there's no real trick to it once the X on the map is seen.
The adventurer sees where the X is and heads straight to it. This kind
of map is fun in movies because there can be all kinds of natural obstacles
in the way such as cliffs, rivers and sand pits. If you've begun to use
this format and have gotten instantly overwhelmed, you are in big company…
If you are considering this format, consider these options:
Break up the map into several pieces…NOT allowing the adventurers
to see all of the pieces initially. Perhaps the piece with the X is only
found AFTER they've completed a series of tasks.
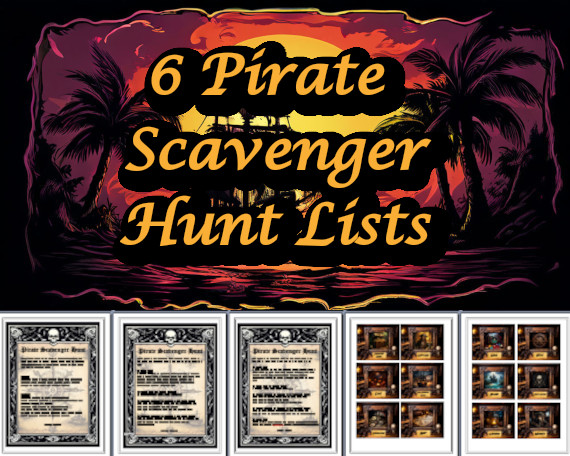 |
6 Pirate Themed Scavenger Hunt Lists - Download them all now! With six different lists to choose from, you won't have any trouble finding the perfect activity you'd like to plan. There's even a for prereaders (with images only.) High quality images are also included that can be printed and hidden so that your scavenger hunt can be set up just about anywhere. Photo hunt options, bonus points and even a couple puzzles thrown in. You'll find the list that's just right for you! CLICK HERE TO DOWNLOAD THEM! |
Consider requiring the adventurers to complete a series of tasks BEFORE
they arrive at their final destination. They might know immediately where
the treasure is…but what if they must obtain five keys along the
way first?
Treat the paper with the burn process as described below. It will make
the paper so brittle that they'll have to keep the map in tact if they
expect to use it. The more you use the below treatment, the more brittle
the paper will be. This technique might take a little 'practice' but the
results just might be perfect for the hunt you want to plan. Of course,
the technique below can be used on ANY clue in your hunt
When I make pirate treasure maps, I use a different method of aging the
paper. Although it can be time consuming, the result is well worth the
time spent. Once I have the map image copied onto the standard stock white
copy paper (the cheaper the paper, the better), I give it a crispy, water
soaked feel by treating it in the following way. Preheat a standard kitchen
oven to BROIL. Please do not confuse this with the BROILER of the oven.
Place an old, flat cookie sheet on the top rack of the oven. With any
can of cheap aerosol laundry spray starch, spray a single piece of paper
and quickly lay it flat on the hot cookie sheet you have in the hot oven.
Keep a close eye on the paper as the oven does its work. Initially, the
paper will probably begin to curl and then finally flatten again. As it
flattens, keep your eye on it. The brown discoloring can happen rather
quickly. Once the paper is the desired color, remove the paper from the
cookie sheet with an oven mitt and repeat the previous steps until you
have aged all your maps and clues. The process gives the paper a stiffer
effect, like paper that was once soaked in water and then left out in
the sun to dry. To further the effect, leave the paper in the oven longer.
The paper will get darker, however the image should still be readable.
Due to the prolonged time in the oven, the paper will become extremely.
brittle. Now, your guests will have to make sure they take extra care
of the map/clue or else it will break into several pieces.